Model Registration (Persona)
Summary: One selfie taken on your phone is all you need. Register your likeness as a Persona on AI Studio to earn credits each time your model is used in ad video generation. Follow the 5-step registration flow, then submit your persona for marketplace monetization.
What is a Persona?
A Persona is an AI model created from your own face. You do not need a studio shoot or a set of professionally lit photos — a single front-facing selfie taken casually on your phone is enough. Once registered and approved, your Persona is listed on the AI Studio marketplace so other creators can use it when generating ad videos — and you earn a share of the credits used each time.
No professional camera, no studio, no multi-angle photo set. Just take one clear front-facing photo with your phone and the AI builds your persona from it. Registration takes only a few minutes.
After completing persona registration, the left sidebar expands with additional menus: My Personas, Persona Monetization, Approval Request, License Management, and Settlement.
How to Create a Persona
Step 1 — Open Model Registration
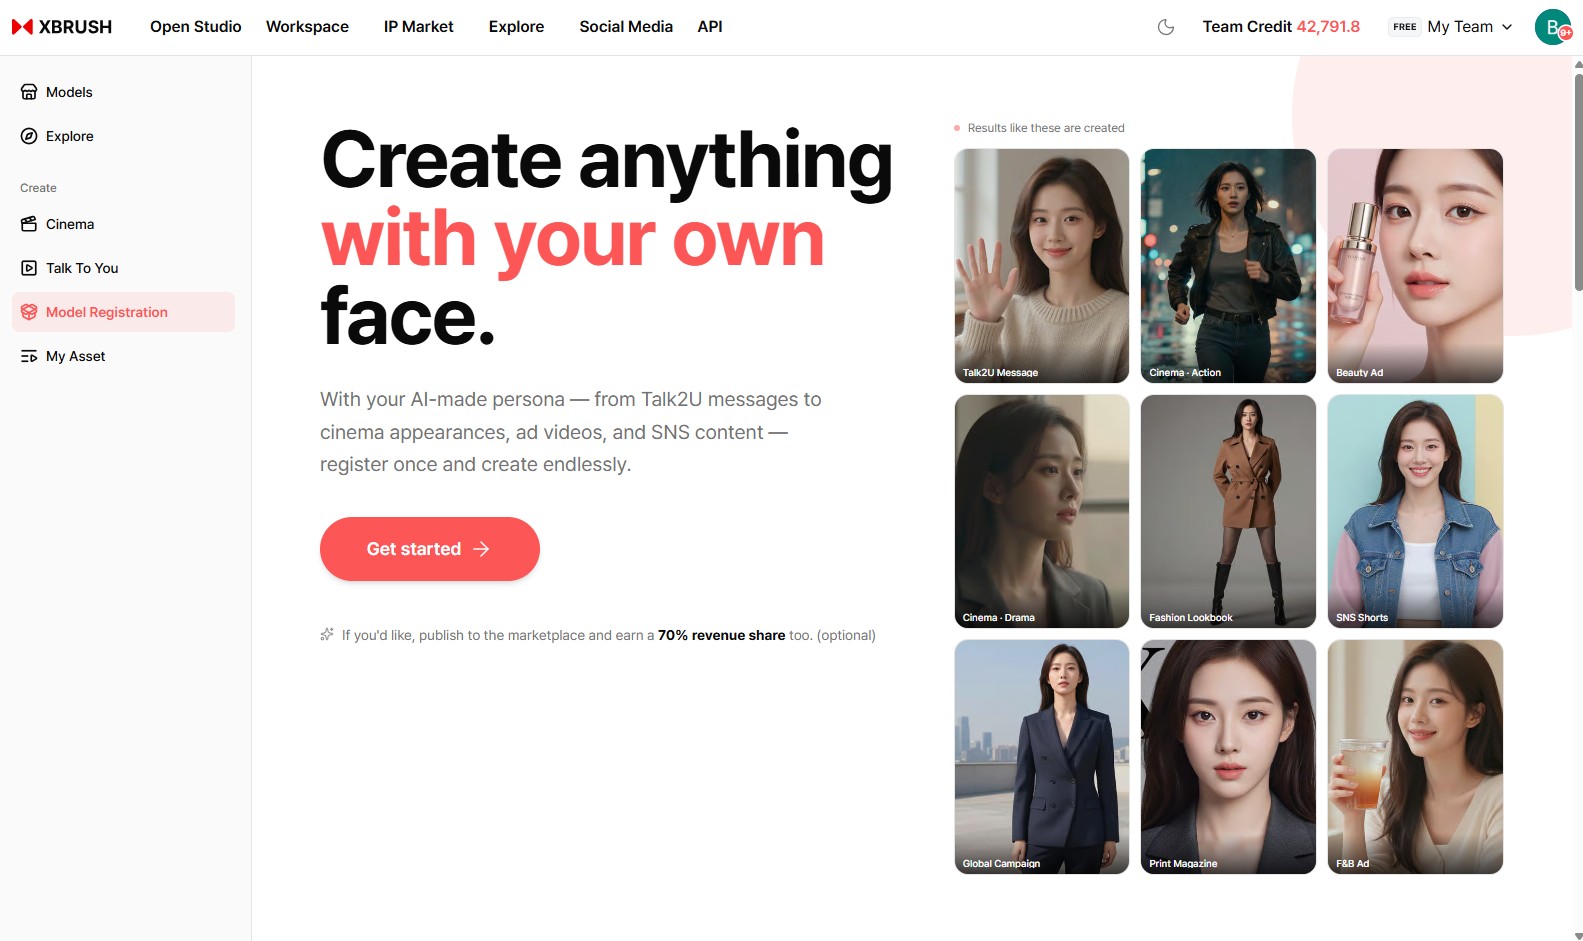
Click Model Registration in the left sidebar to open the persona registration screen.
- Click Model Registration in the left sidebar.
- The registration overview screen opens, showing what you can create with your own face — Talk2U messages, cinema appearances, ad videos, and SNS content.
- Click Get started to begin.
Publishing your persona to the marketplace is optional — but if you do, you earn a 70% revenue share each time it is used.
Step 2 — Agree to Terms
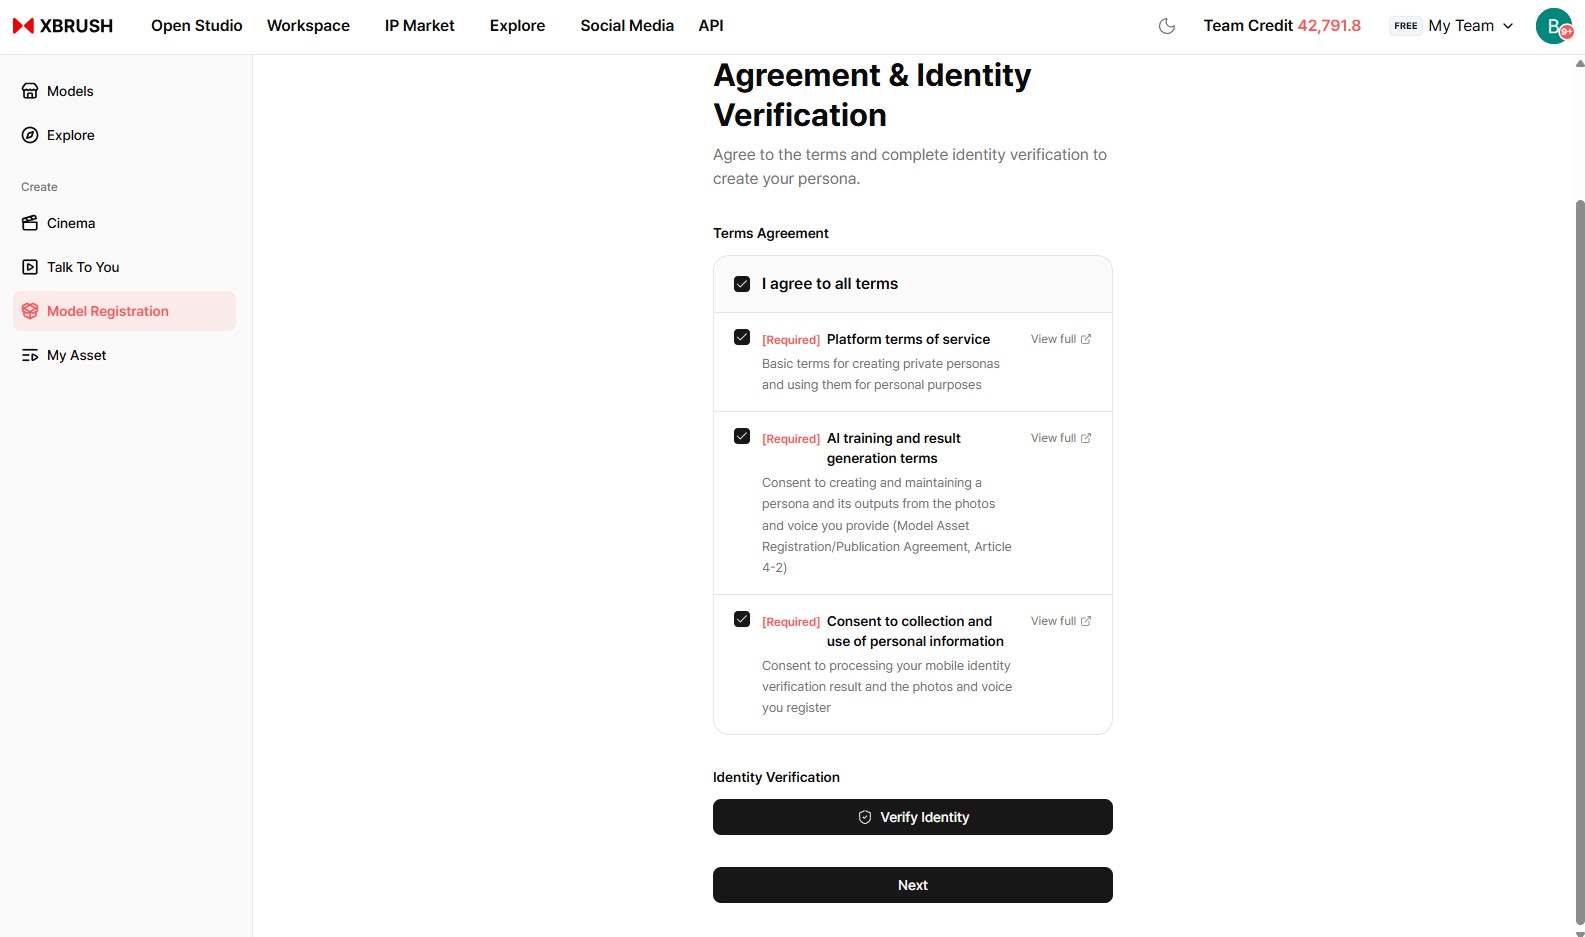
Review and accept the required terms on the Agreement & Identity Verification screen.
- Check I agree to all terms, or review and check each item individually:
- Platform terms of service — basic terms for creating private personas and using them for personal purposes.
- AI training and result generation terms — consent to creating and maintaining a persona and its outputs from the photos and voice you provide.
- Consent to collection and use of personal information — consent to processing your identity verification result and the photos and voice you register.
- Click View full on any item to read the complete document.
Step 3 — Verify Your Identity
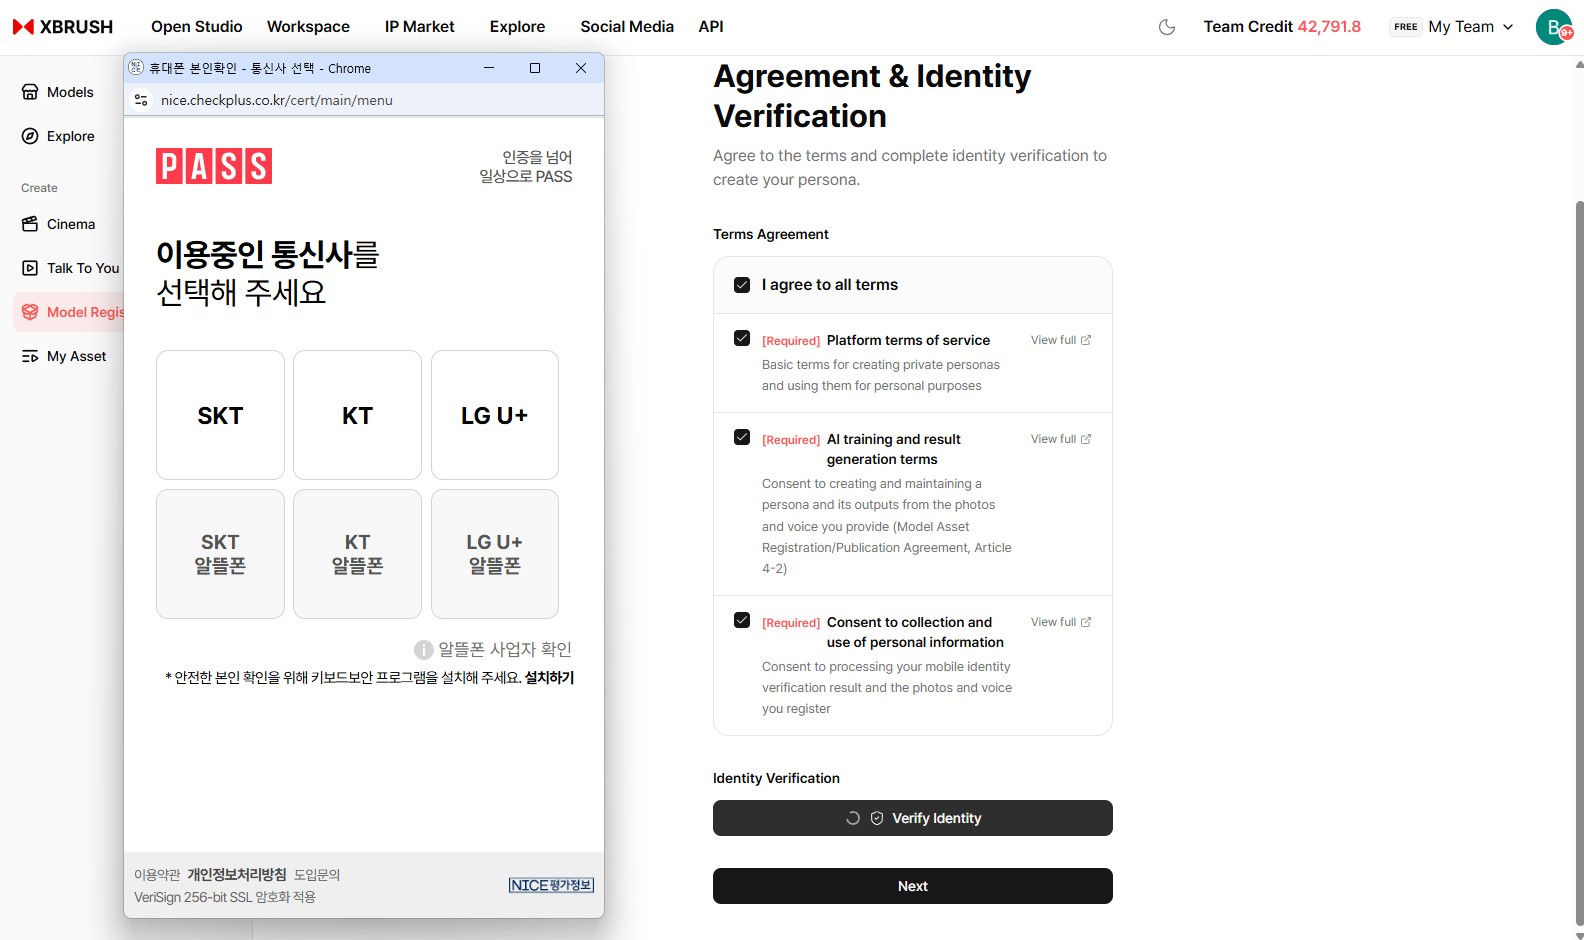
Click Verify Identity to complete mobile identity verification.
- Click Verify Identity under the Identity Verification section.
- A verification window opens — select your mobile carrier and follow the prompts to complete verification.
- Identity verification is required to confirm that the face you register is your own.
Step 4 — Continue to Profile Setup
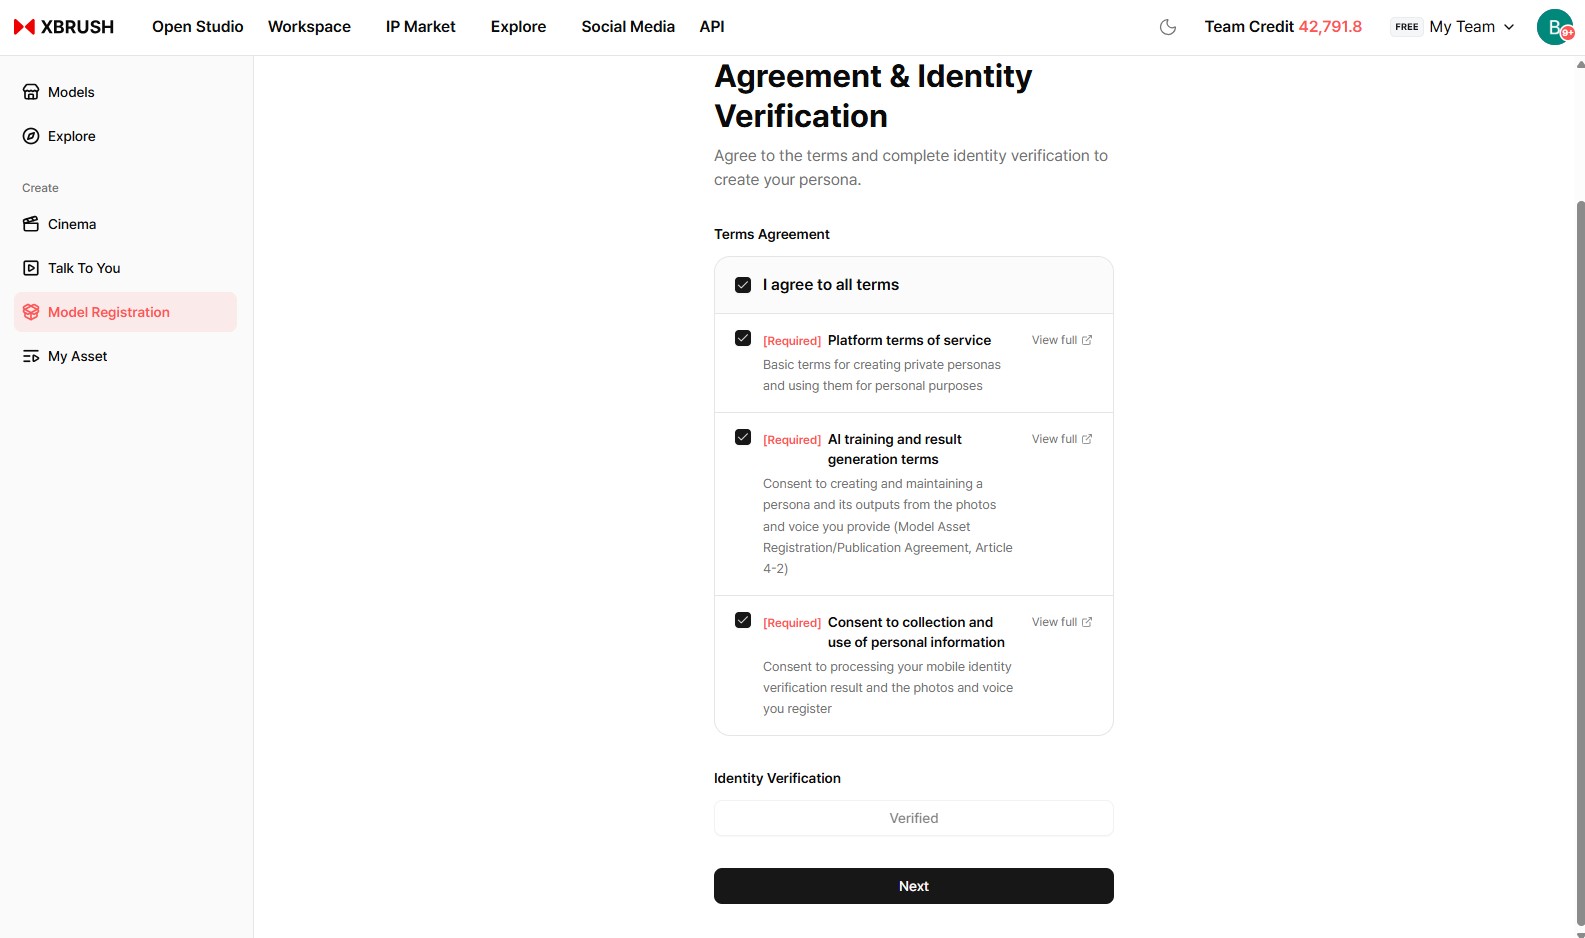
Once verification succeeds, the button changes to Verified.
- Confirm that the Identity Verification section shows Verified.
- Click Next to move on to profile information.
Step 5 — Enter Profile Information
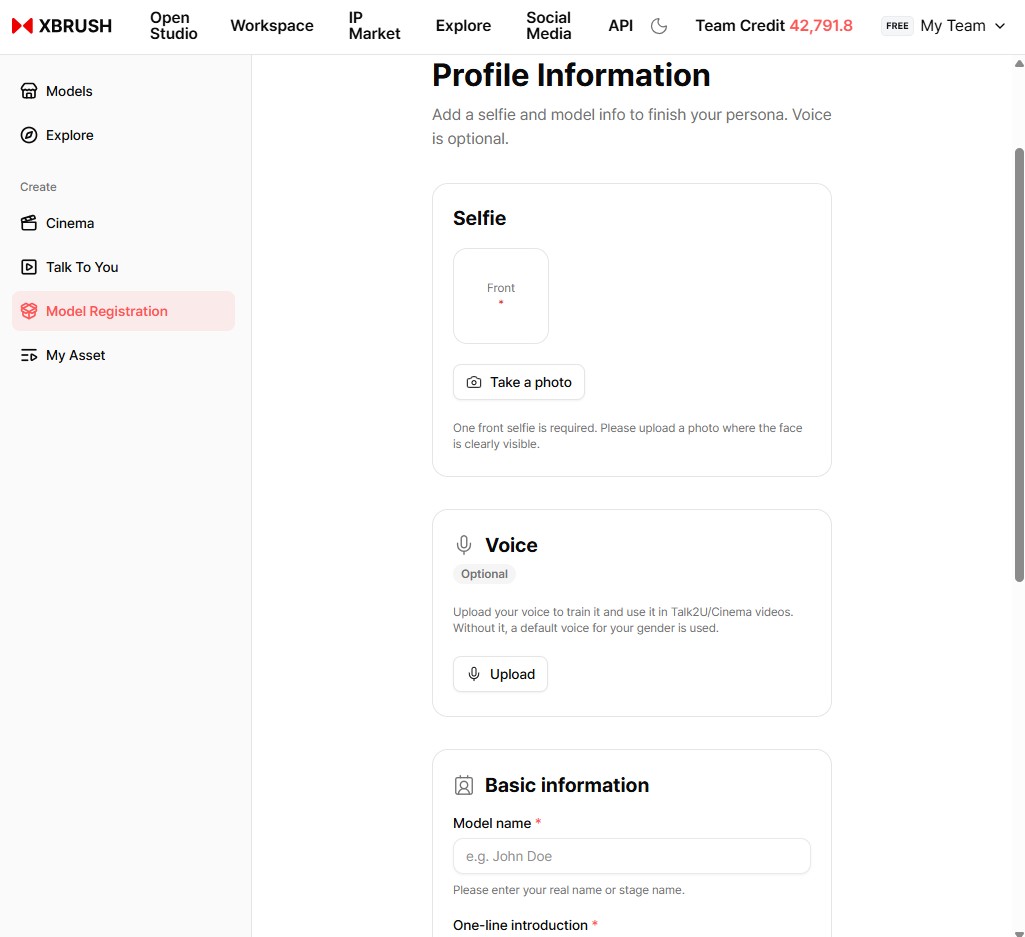
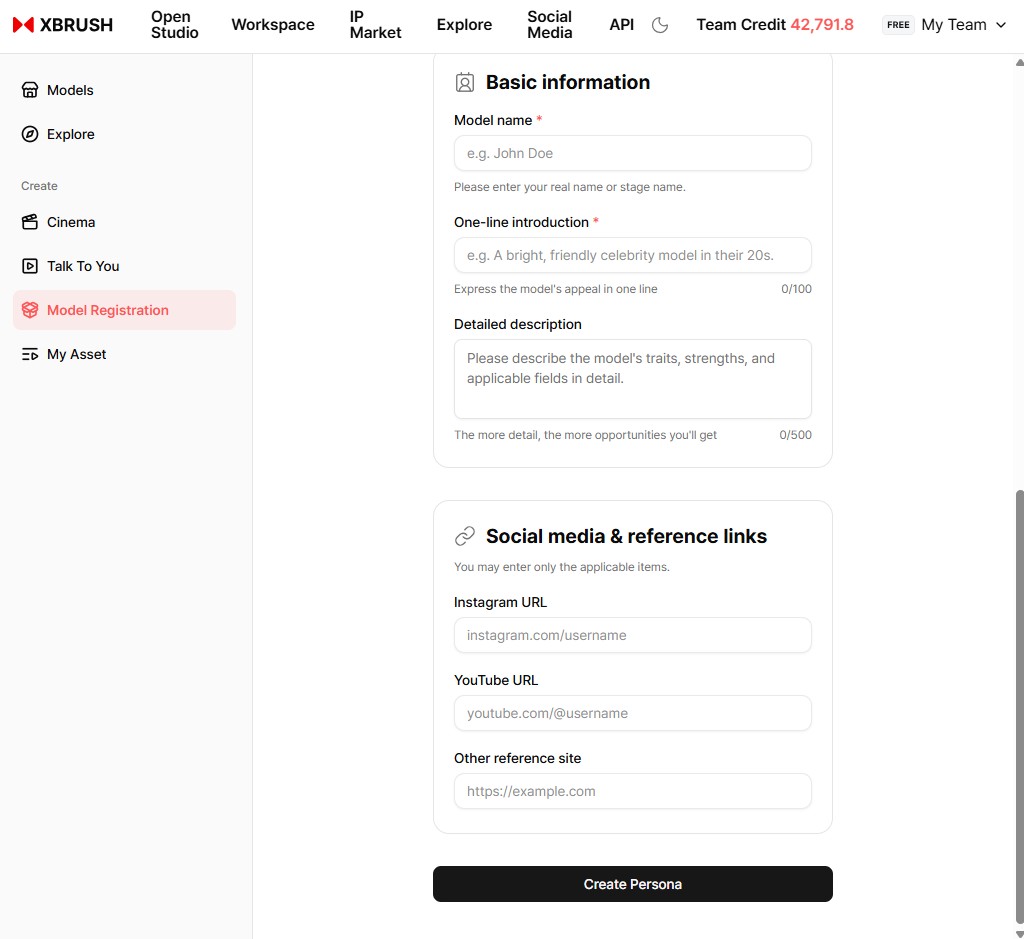
Add a selfie and model info to finish your persona. Just one photo taken on your phone is enough — voice is optional.
- Selfie (required) — Only one photo is needed. Click Take a photo to add a single front-facing selfie. A casual shot taken on your phone works fine — just make sure the face is clearly visible.
- Voice (optional) — Upload your voice to train it and use it in Talk2U and Cinema videos. Without it, a default voice for your gender is used.
- Basic information
- Model name (required) — Your real name or stage name.
- One-line introduction (required) — Express the model's appeal in one line (up to 100 characters).
- Detailed description — Describe the model's traits, strengths, and applicable fields (up to 500 characters). The more detail, the more opportunities you'll get.
- Social media & reference links — Add your Instagram, YouTube, or other reference URLs. Enter only the items that apply.
- Click Create Persona to complete registration.
Your persona is now registered and visible in My Personas, and the left sidebar expands to show the persona management menus. To earn revenue from the marketplace, proceed to Persona Monetization.
Managing Your Personas
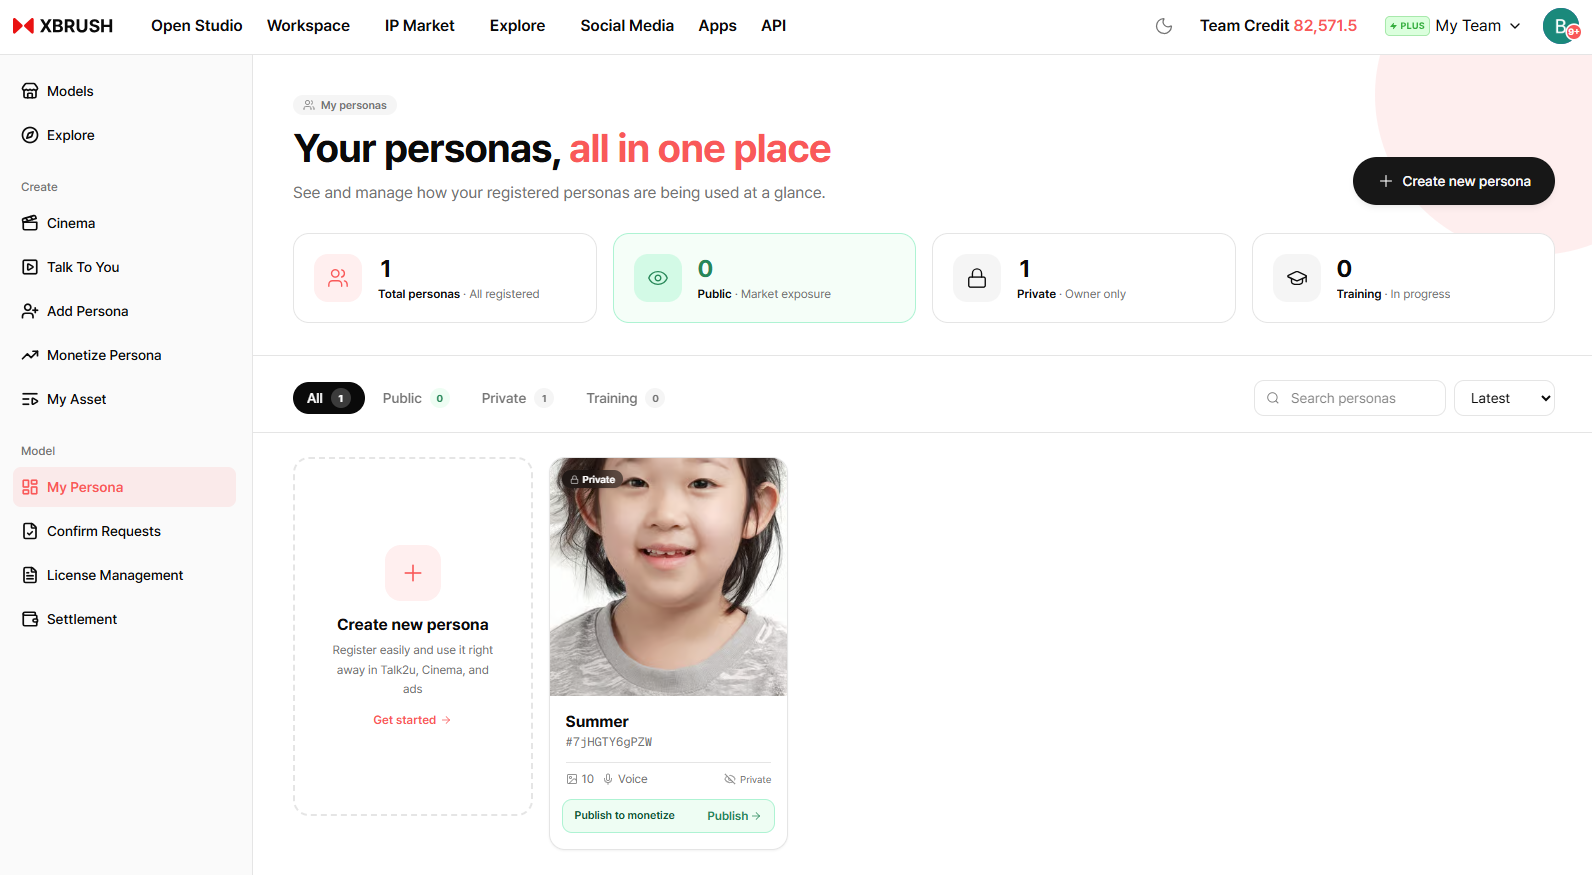
View and manage all your registered personas.
- View all registered personas and their current status.
- Select a persona to edit details or remove it from the marketplace.
Persona Monetization
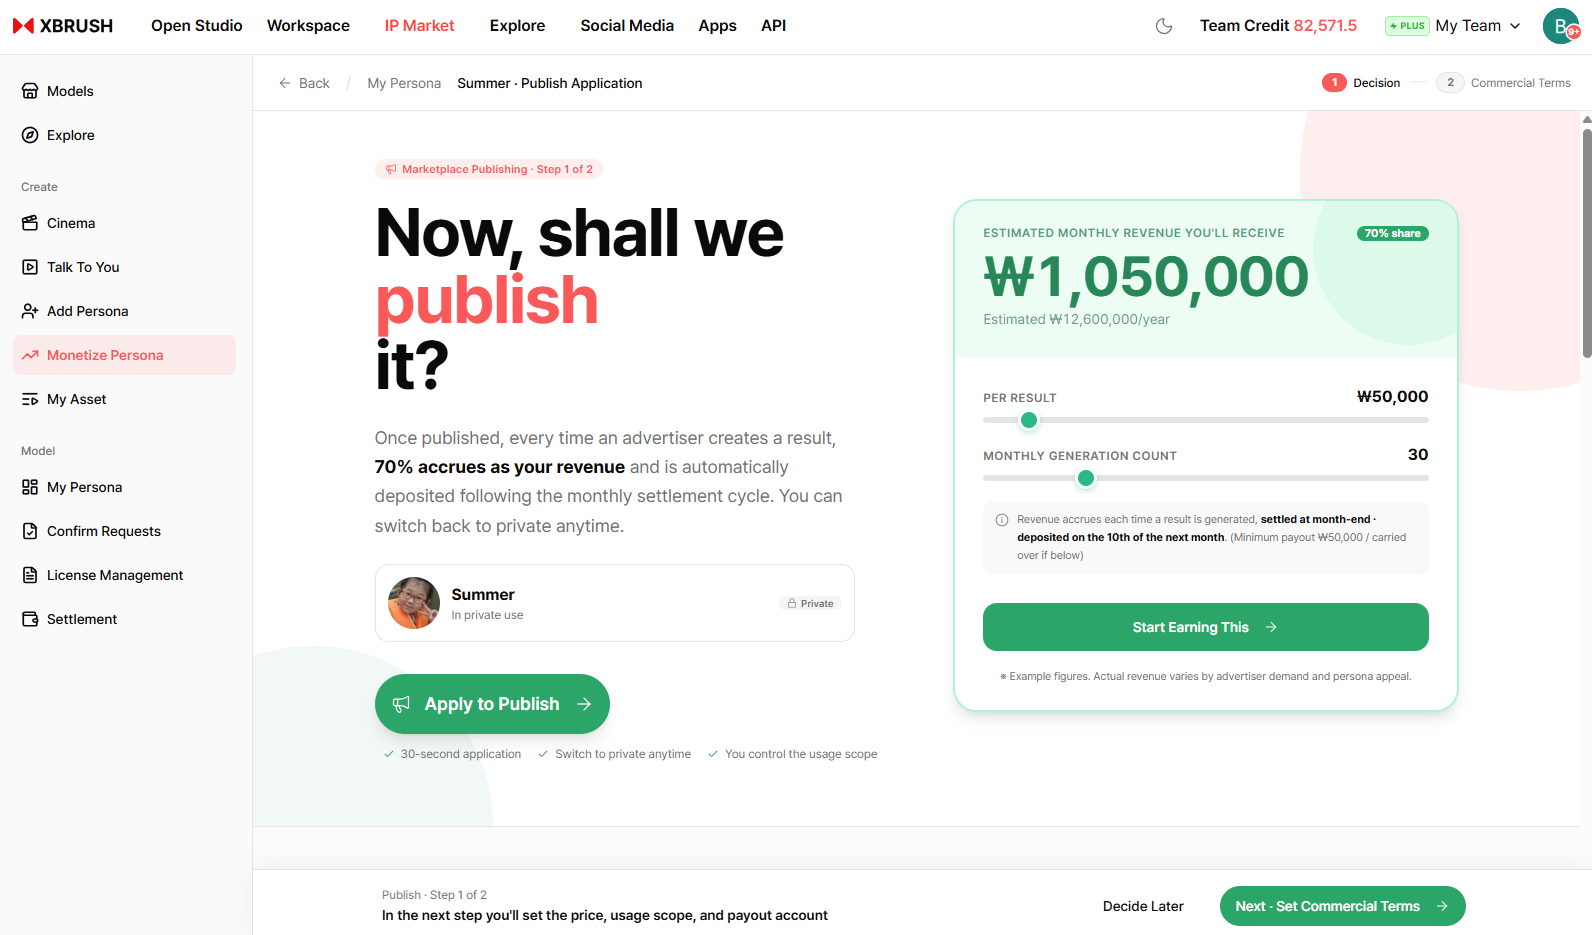
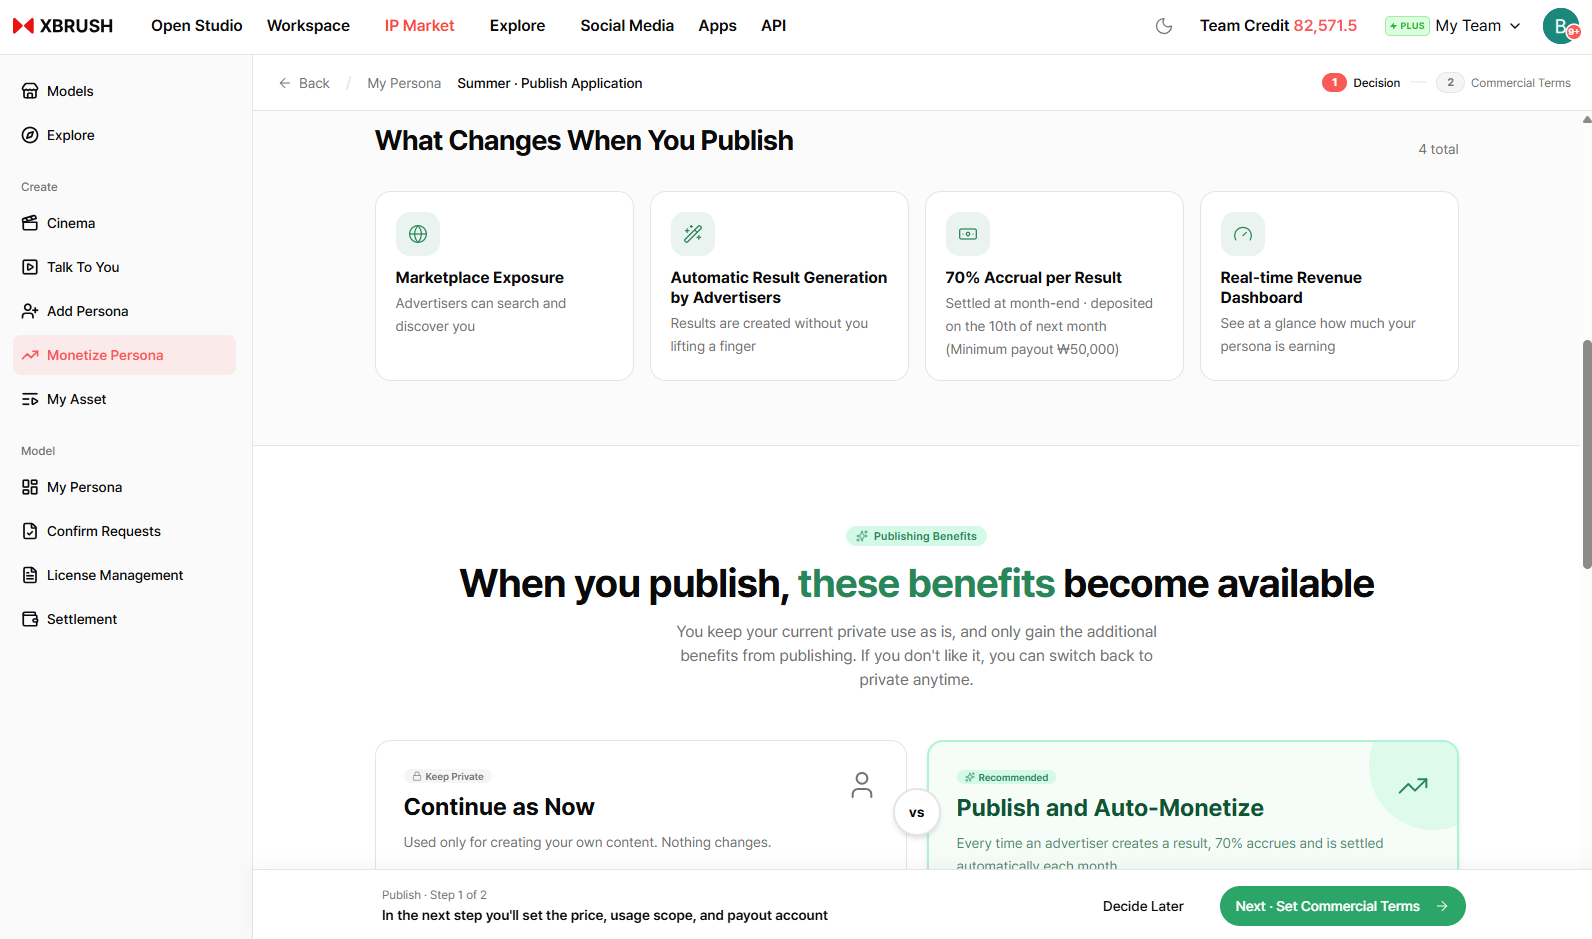
Submit a persona for marketplace monetization.
- Click Persona Monetization in the left sidebar.
- Select the persona you want to monetize.
- Review and accept the monetization terms.
- Submit for approval — once approved, the persona is listed on the marketplace and starts earning credits.
Approval Request
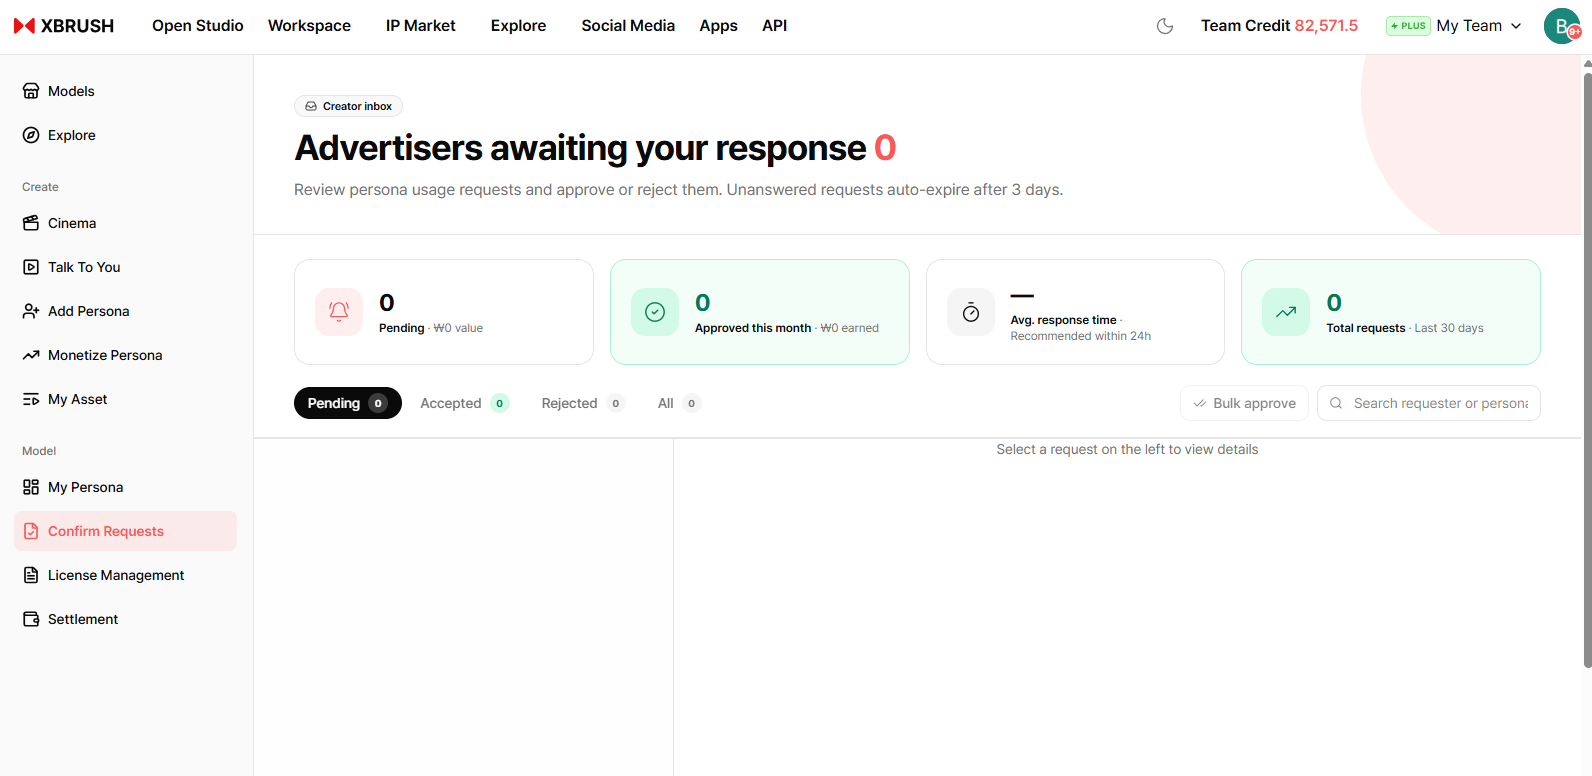
Track the approval status of your monetization requests.
- View the review status of each persona submitted for monetization.
- Statuses include pending review, approved, and rejected.
- If rejected, review the reason and resubmit after making corrections.
License Management
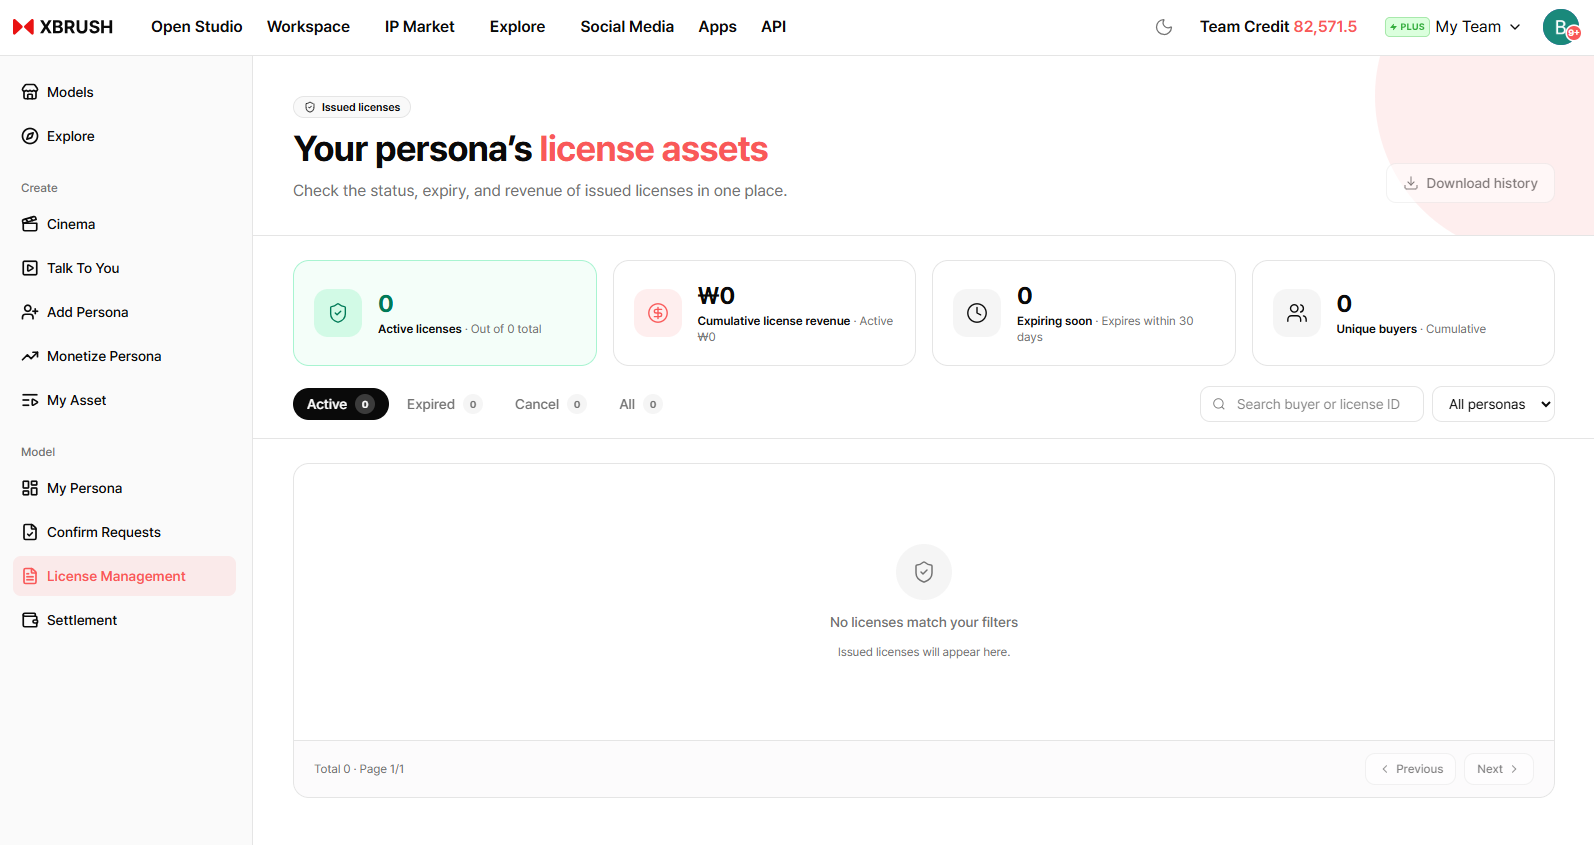
Manage usage licenses for your personas.
- Review how and where each persona is licensed for use.
- Adjust license terms or withdraw a persona from active marketplace use.
Settlement
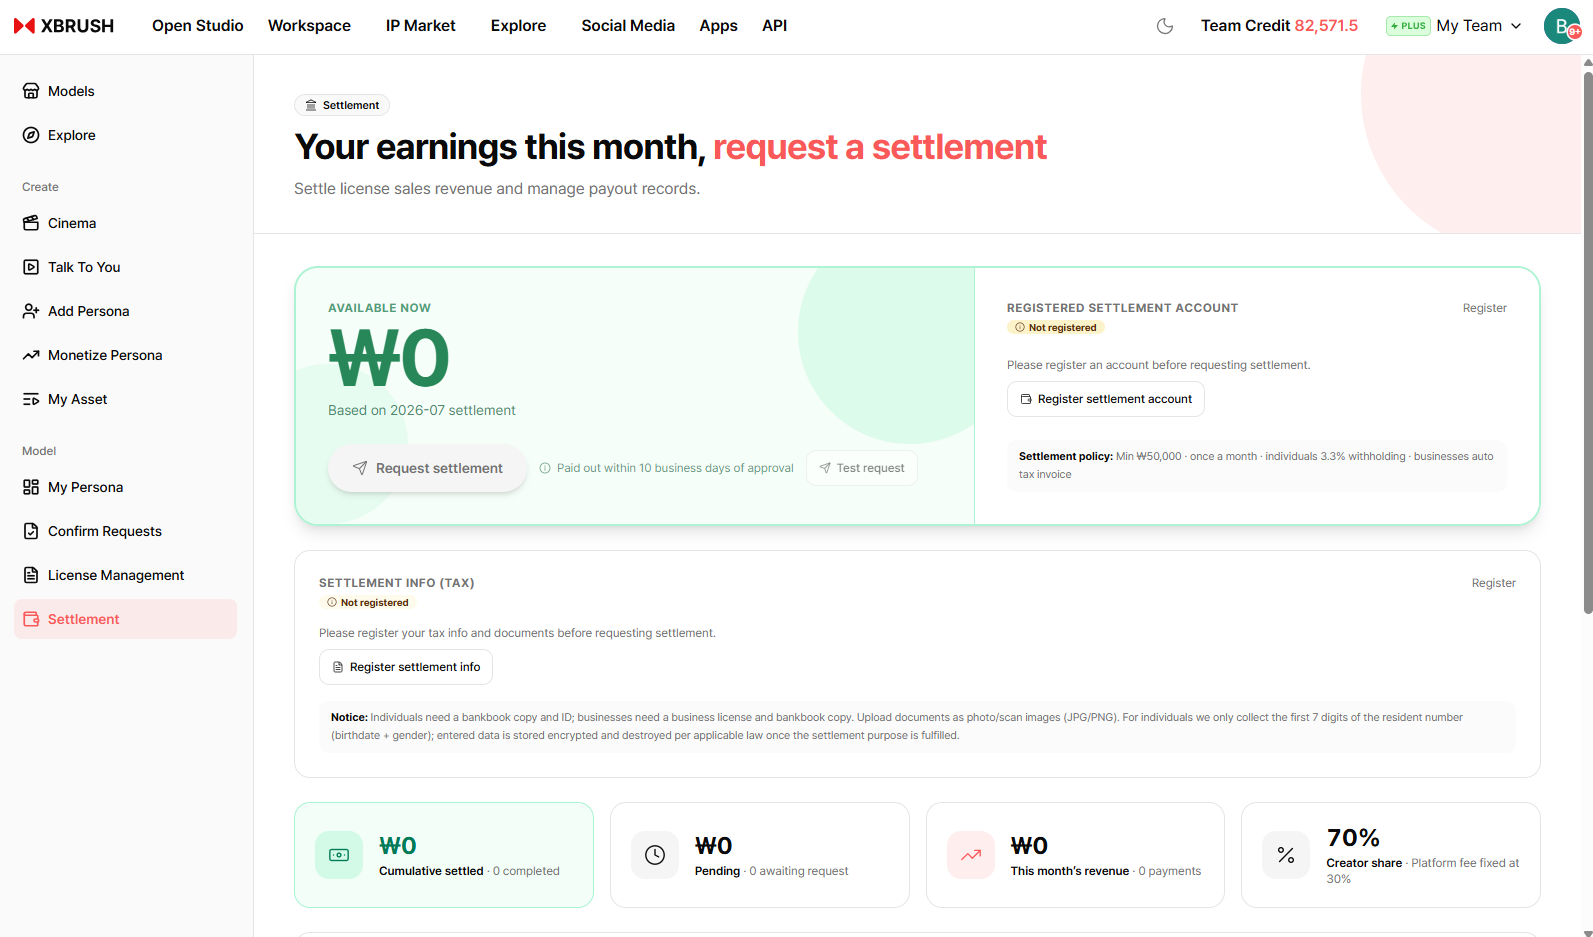
View your earnings and credit settlement history.
- Track credits earned from each persona across campaigns.
- View detailed transaction history including usage counts, credit amounts, and payout dates.
Notes
- Only one front-facing selfie is required — a photo taken on your phone is fine, as long as the face is clearly visible.
- Photo requirements and content guidelines are provided during the registration flow.
- Persona registration and monetization are subject to XBRUSH's terms of service.
- Revenue earned is credited to your XBRUSH credit balance and can be withdrawn according to settlement terms.